How to Replace an ADT Sensor Battery Effectively
- Disarm the System
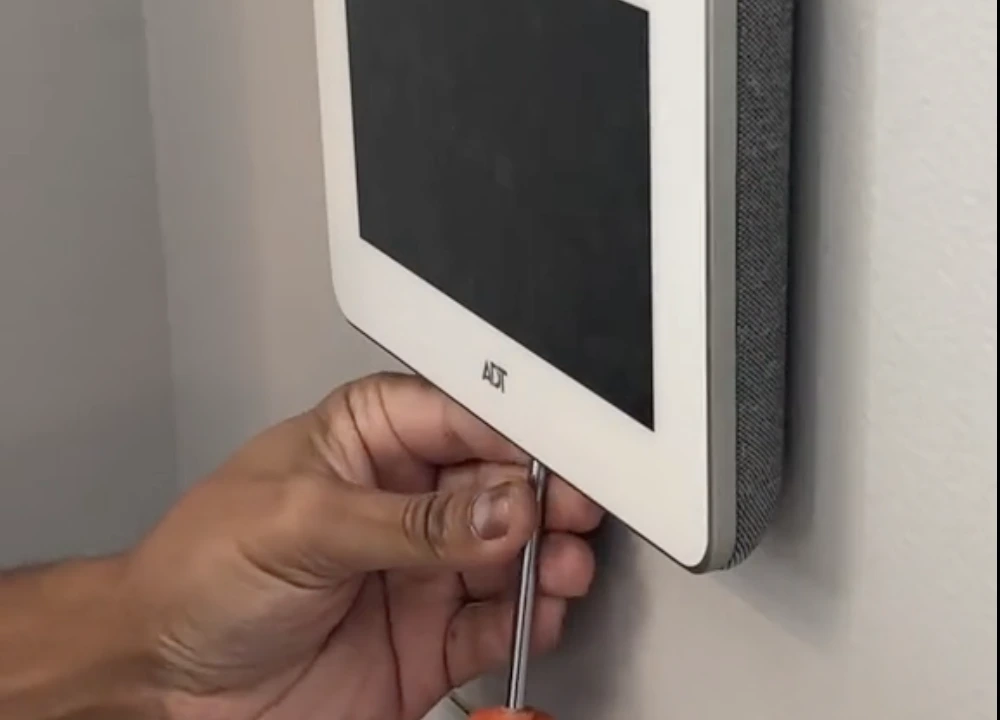
Before starting, disarm your system using the keypad or ADT app to prevent triggering any alarms. - Open the Sensor Cover
Gently pry open the sensor cover using a small screwdriver or coin. Most sensors snap open from one edge. - Remove the Old Battery
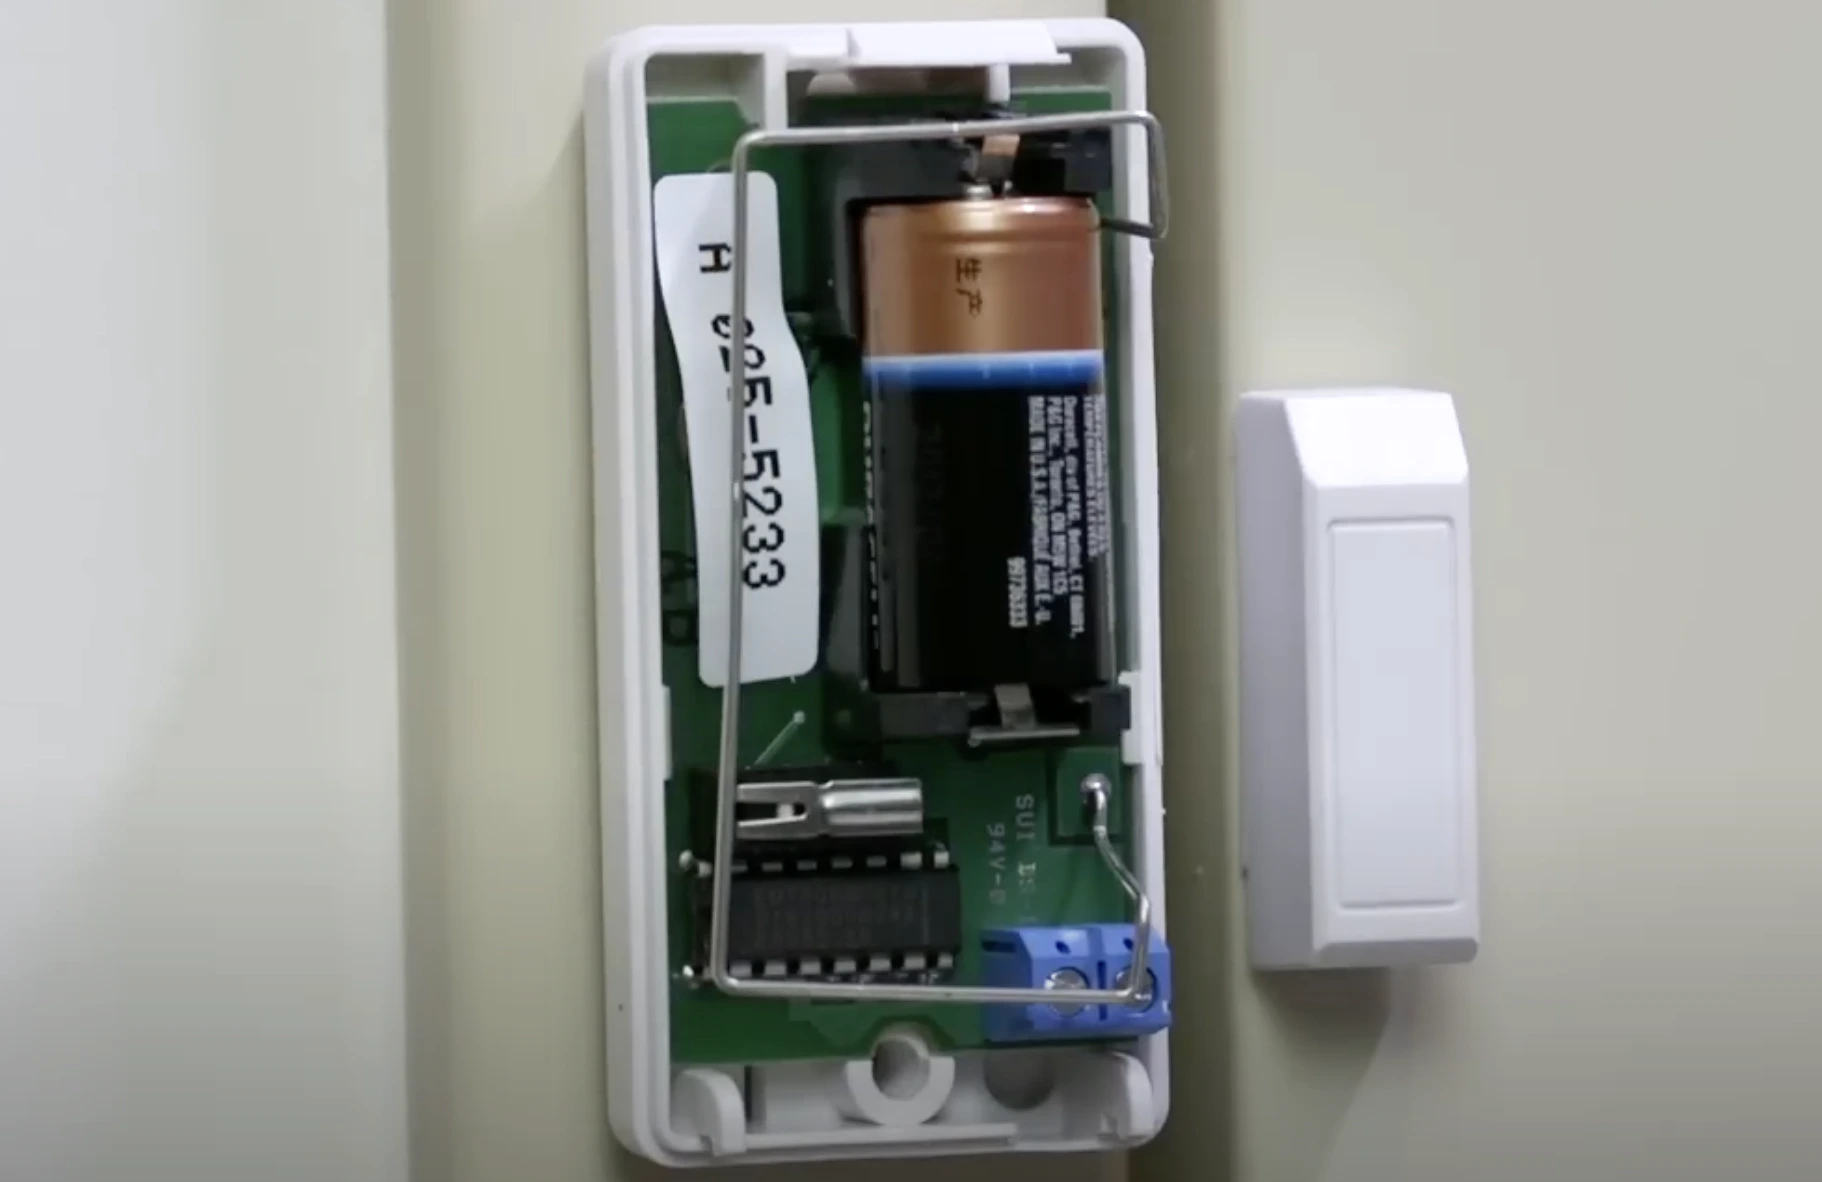
Carefully remove the battery. Avoid using metal tools that may short the battery terminals. - Insert the New Battery
Place the new battery in the correct orientation (check the + and – signs). Use the same model number as the old battery. - Snap the Cover Back On
Close the sensor cover securely. You should hear it snap or click into place. - Test the Sensor
Open and close the door or window to ensure the sensor is responding correctly. The low battery warning should disappear.
🔄 For Motion or Glass Break Sensors
The process is similar:
- Open the back cover
- Replace the CR123A or AA batteries
- Snap the cover shut
- Confirm sensor activity via your panel or app
⚠️ Battery Safety Tips
- Always use fresh batteries (avoid expired ones).
- Don’t mix brands or battery types.
- Dispose of old batteries properly (most stores offer battery recycling bins).
📞 When to Call ADT Support
- If the battery warning doesn’t clear
- If you can’t open the sensor
- If the sensor still doesn’t work after battery replacement
ADT offers 24/7 support and may send a technician if your equipment is under warranty.
✅ Final Thoughts
Changing your ADT sensor battery is a quick DIY task that keeps your home protected without downtime. By following these easy steps, you can maintain your security system’s performance without needing a service call.